Host actions
The few things RF Swift sets up on your own computer: Linux host setup, sound from your labs, and USB devices on Linux, Windows and macOS.
A few things happen on your own computer (the host), outside any lab: letting your user open radio hardware, bringing the sound of your labs to your speakers, and forwarding USB devices on Windows and macOS. Most of them are one-time steps, and the installer already offers them.
To see where you stand, run:
rfswift doctorIt reports the state of each item below and names the command that fixes it. The Workbench’s Engine doctor has the same actions behind buttons.
In short
| I want to… | Command |
|---|---|
| Set up a Linux host, step by step | rfswift host setup |
| Let my user open radio hardware (rootless Podman, Nix) | rfswift host udev |
Use Docker without sudo |
rfswift host docker-access |
| Hear the sound of tools in my labs | rfswift host audio enable |
| Forward a USB radio (Windows, macOS) | rfswift usb attach |
Host setup on Linux
The Linux packages and the installer leave a few host changes to you on purpose: they ask for them instead of applying them silently. rfswift host setup walks through all of them, and each also exists as a single command:
rfswift host setup             # udev rules, engine install, Nix, Docker access, Nix jail; --yes takes the defaults
rfswift host udev              # RF Swift's udev rules: rootless Podman and Nix environments need them, Docker does not
rfswift host docker-access     # docker group + a socket ACL, works without logging out
rfswift host isolate           # Nix --isolate jail on Ubuntu 24.04+: bubblewrap and its AppArmor profile
rfswift host devclean          # remove empty directories an old container left where a device node belongs
About the udev rules:
- They grant group
plugdevplus the logged-in user’s seat ACL, never world-writable nodes. - udev is reloaded on the spot. Log out and in once, then re-plug the device.
rfswift doctor reports the state of each item, and the Workbench’s Engine doctor has the same actions behind a polkit prompt. Full reference: host.
Sound from your labs
Many RF tools, such as GQRX, SDR++ and SDRAngel, play audio. For containers to reach your speakers, the host audio server (PulseAudio or PipeWire) must accept connections from them.
- Linux and macOS: RF Swift loads the host audio server’s TCP module automatically whenever a container starts. The commands below do it by hand.
- Windows: containers use WSLg’s audio socket and need nothing.
- Nix environments play sound natively and don’t need this.
Turn it on
rfswift host audio enableThis command:
- detects whether PulseAudio or PipeWire is installed;
- starts the audio server if it isn’t running;
- loads the PulseAudio/PipeWire TCP module, listening on 127.0.0.1:34567;
- on macOS with Lima, allows connections from the VM and Docker subnets;
- does not need sudo or administrator rights.
You should see a confirmation like:
[+] Successfully loaded module-native-protocol-tcp with index 29Turn it off
rfswift host audio unloadThis removes the TCP module from PulseAudio/PipeWire and closes the network port.
Use another address
rfswift host audio enable -s 10.0.0.1:34567This allows audio forwarding across a network, for example for remote connections or VMs.
Security
Opening PulseAudio/PipeWire to network interfaces introduces potential security risks. Only use custom addresses on secure networks, and consider a firewall to restrict access.
The audio commands
rfswift host audioManage pulseaudio server
Usage:
rfswift host audio [command]
Available Commands:
enable Enable connection
unload Unload TCP module from Pulseaudio server
Flags:
-h, --help help for audioWhen there is no sound
When the audio server isn’t configured, starting a container shows this warning:
┌──────────────────────────────────────────────────────────────────────────────────────────────────┐
│ ⚠️  Warning                                                                                       │
├──────────────────────────────────────────────────────────────────────────────────────────────────┤
│ Warning: Unable to connect to Pulse server at 127.0.0.1:34567                                    │
│ To install Pulse server on Linux, follow these steps:                                            │
│ 1. Update your package manager: sudo apt update (for Debian-based) or sudo yum update (for Red   │
│ Hat-based).                                                                                      │
│ 2. Install Pulse server: sudo apt install pulse-server (for Debian-based) or sudo yum install    │
│ pulse-server (for Red Hat-based).                                                                │
│ After installation, enable the module with the following command as unprivileged user:           │
│ ./rfswift host audio enable                                                                      │
└──────────────────────────────────────────────────────────────────────────────────────────────────┘
It means PulseAudio/PipeWire doesn’t accept TCP connections on the default address (127.0.0.1:34567). Run rfswift host audio enable. If the problem remains:
-
Check that PulseAudio is running:
pulseaudio --check -
Restart it if needed:
pulseaudio -k pulseaudio --start -
Check the container’s
PULSE_SERVERvariable:rfswift container shell -c my_container echo $PULSE_SERVERIt should show
tcp:127.0.0.1:34567(or your custom address).
USB devices
How a USB radio reaches your lab depends on your system: on Linux it is shared directly, while on Windows and macOS containers run inside a VM that must receive the device first.
There is no attach step on Linux: devices are mapped when the container is created.
- The USB tree (
/dev/bus/usb) is mapped by default, so RTL-SDR and HackRF dongles work out of the box. - Serial devices (
/dev/ttyUSB0,/dev/ttyACM0, …) are added at creation or later:
rfswift container create -i sdr_full -n my_sdr -s /dev/ttyUSB0:/dev/ttyUSB0     # at creation
rfswift config bindings add -c my_sdr -d -t /dev/ttyUSB0                         # later
Serial ports are hot-pluggable on Docker and rootful Podman. Rootless Podman and Nix environments run the tools as your user and need the host udev rules: rfswift host udev. More in Files & devices and Change a container after creation.
Containers on Windows run inside WSL 2, which can’t see the host USB bus. RF Swift forwards devices with usbipd-win.
You need:
- usbipd-win 4.0 or later (
winget install usbipd, or the RF Swift installer bundle); - Docker Desktop or Podman Desktop in WSL 2 mode, or the Nix engine in a WSL 2 distribution.
Forward a device:
rfswift usb list                  # host devices with their bus ID and state
rfswift usb attach                # picker; or: rfswift usb attach --busid 1-2
rfswift usb detach --busid 1-2 # give the device back to Windows- Sharing a device the first time needs administrator approval: RF Swift raises one UAC prompt for
usbipd.exe, once per device. - Attaching and detaching never need elevation.
rfswift container createoffers the picker by itself when it detects RF hardware.
Which device is mine? Run rfswift usb list before plugging your device in, plug it in (RTL-SDR, HackRF, …), and run rfswift usb list again: the new entry is the one to forward. Common RF hardware is shown with a friendly name.
Full reference: usb and winusb.
Legacy winusb commands (earlier versions)
rfswift winusb ... remains available; rfswift usb ... is the v4 front door and runs these commands on Windows. Earlier versions of this guide documented the following, run from an administrator PowerShell:
rfswift winusb list
rfswift winusb attach -i 1-2          # 1-2 is the BusID from the list
rfswift winusb attach-all-sdrs        # detect common SDRs by vendor/product ID and attach them all
rfswift winusb detach -i 1-2
Example list output:
USB Devices:
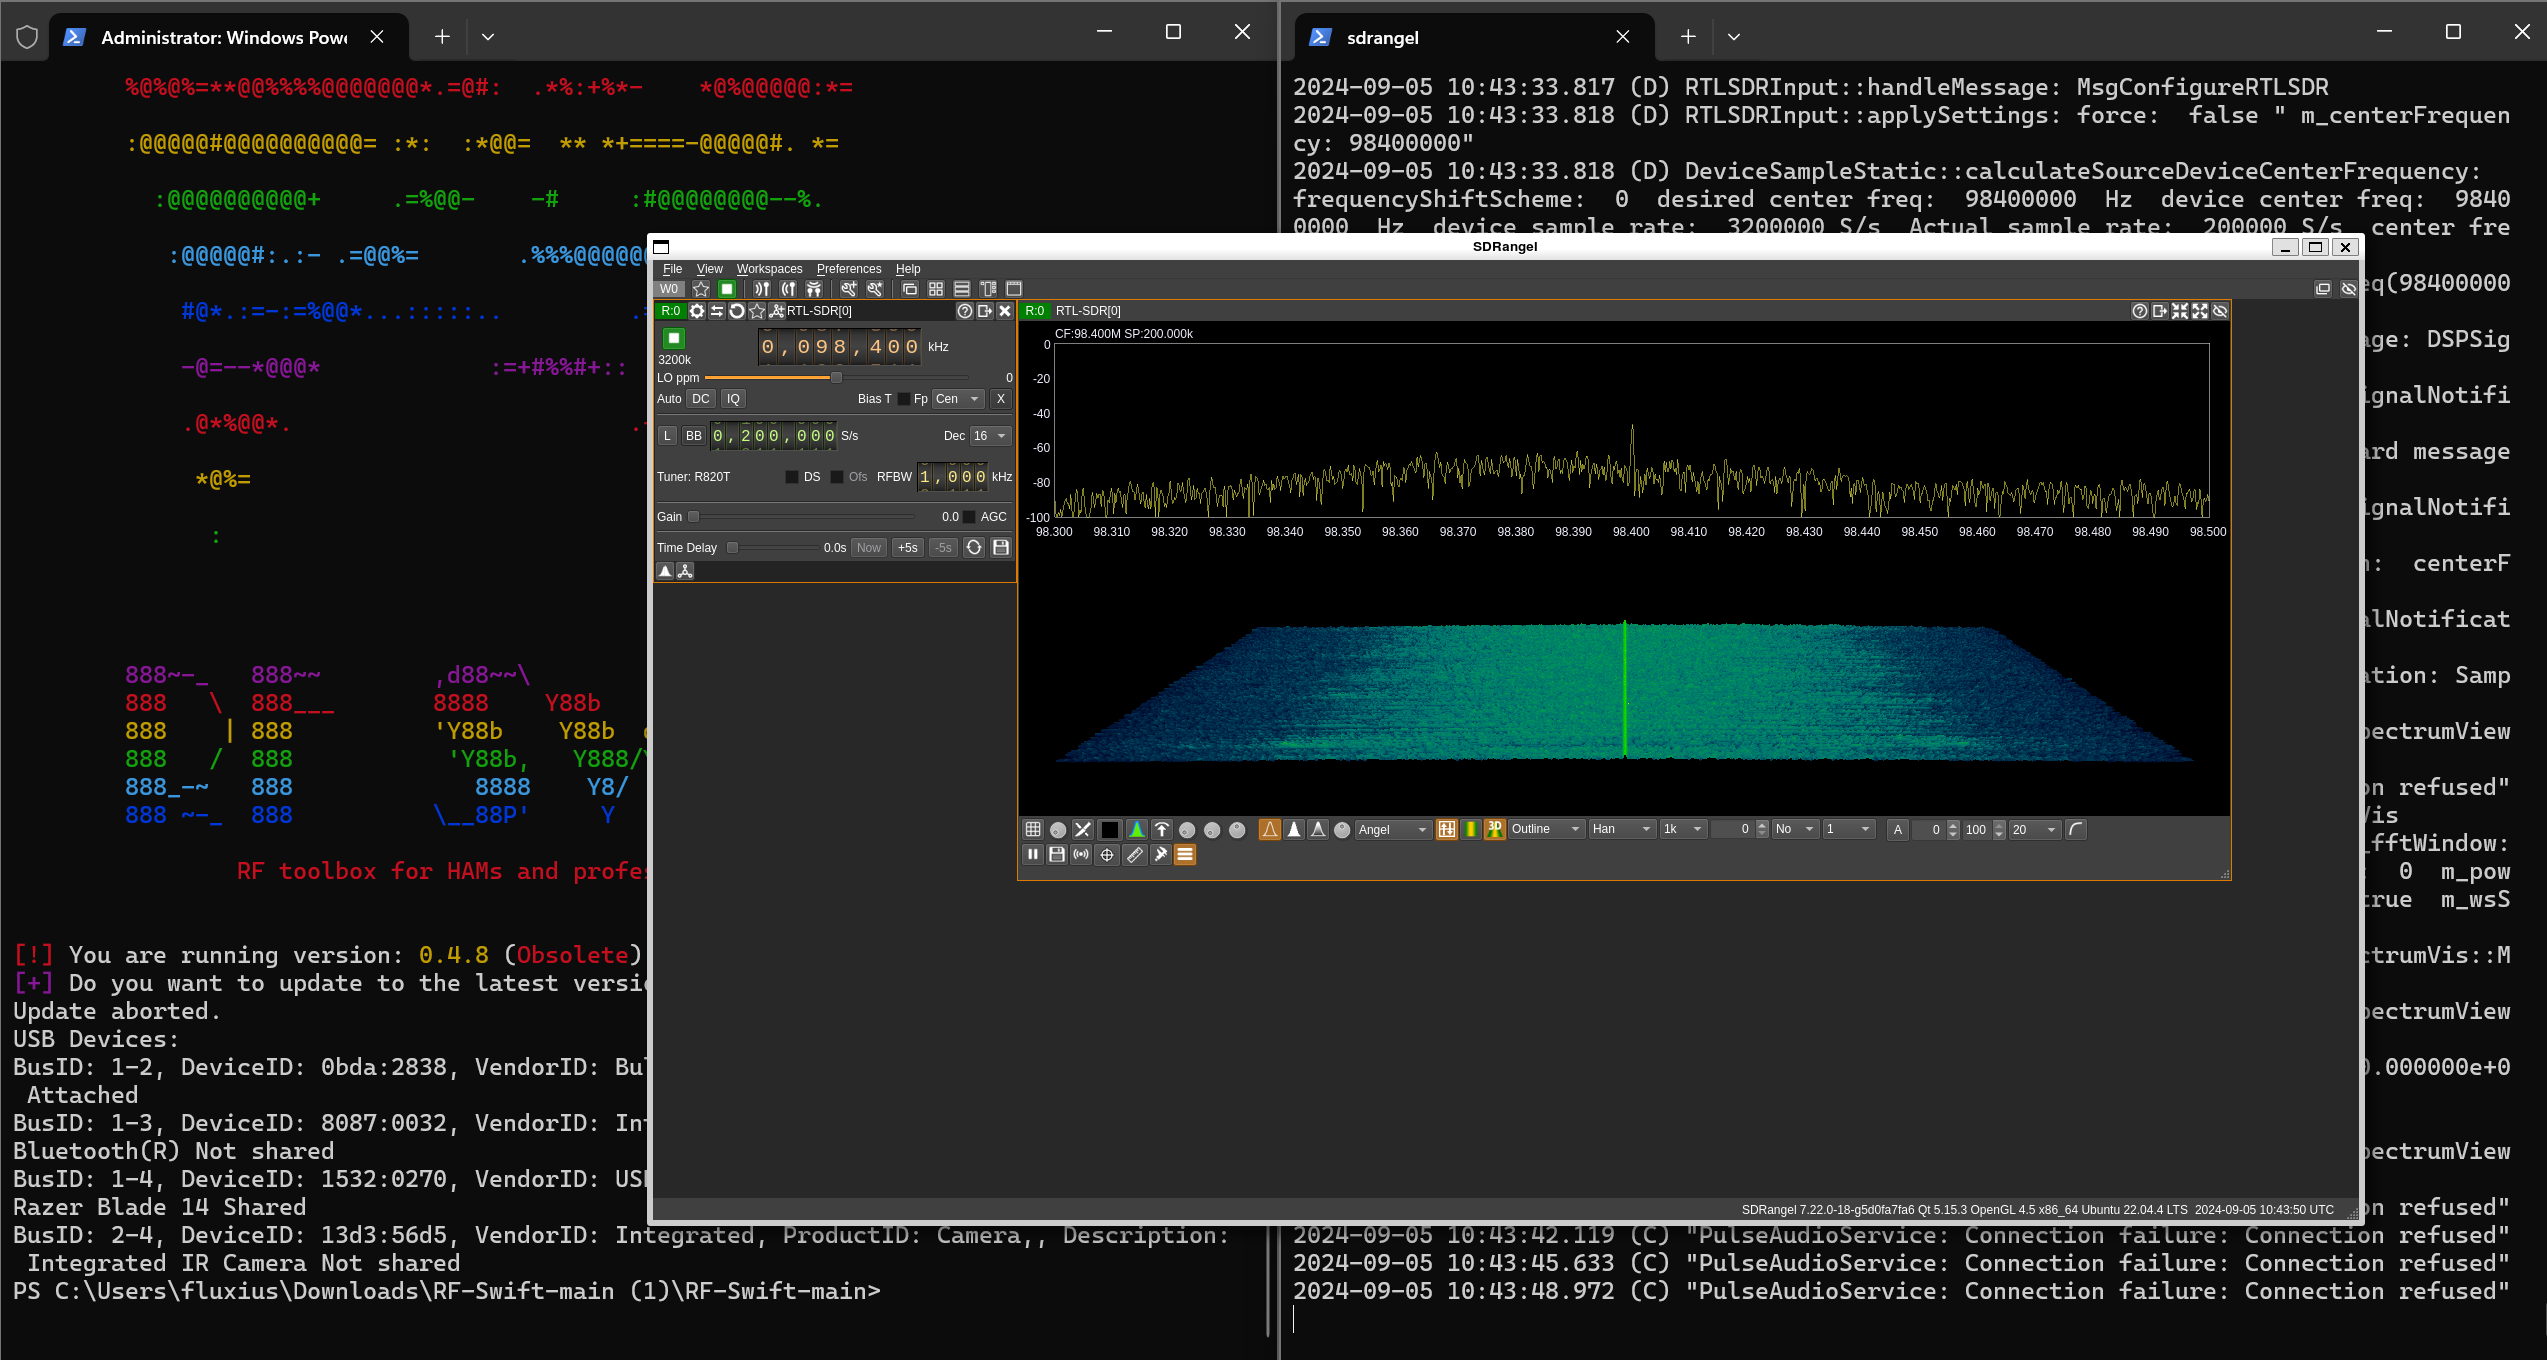
BusID: 1-2, DeviceID: 0bda:2838, VendorID: Bulk-In, ProductID: Interface, Description: Not shared
BusID: 1-3, DeviceID: 8087:0032, VendorID: Intel(R), ProductID: Wireless, Description: Bluetooth(R) Not shared
BusID: 1-4, DeviceID: 1532:0270, VendorID: USB, ProductID: Input, Description: Device, Razer Blade 14 Shared
BusID: 2-4, DeviceID: 13d3:56d5, VendorID: Integrated, ProductID: Camera, Description: Integrated IR Camera Not shared
After attaching, list shows the device as “Attached” rather than “Not shared”.
Docker Desktop and Podman on macOS can’t receive USB devices. You have two options:
- Nix (native, the lightest): the tools run directly on macOS and open the radio like any Mac program, with no VM in between. See Nix engine.
- Lima (containers): attach the device to the Lima VM, then use a lab created with
--engine lima.
brew install qemu lima                            # once
rfswift usb list                                  # host USB devices
rfswift usb attach                                # picker; or --vid 0x1d50 --pid 0x604b
rfswift --engine lima container create -i sdr_light -n sdr_work
rfswift usb detach --vid 0x1d50 --pid 0x604b      # give the device back to macOS
The VM is created and started on first use of --engine lima. Full reference: usb and engine.
Example: an RTL-SDR
lsusb | grep RTL                                     # check the device is recognised
rfswift container create -i sdr_full -n rtlsdr_container # the default USB mapping covers itrfswift usb list # the RTL-SDR typically has vendor ID 0bda
rfswift usb attach --busid 1-2 # replace 1-2 with your device's bus IDOnce the device is attached, run your tools inside the lab, for example SDRAngel:
sdrangel