Running RF Swift
Your day-to-day companion: create a lab, come back to it, add tools and devices, record sessions and clean up, with the commands in the order you use them.
This page follows a normal working day with RF Swift: prepare your engine once, create a lab, come back to it, add tools and devices, record what you do, and clean up. Every section starts with the command most people need, then the options around it.
If you only remember one command, make it this one: it takes you back into your most recent lab, or lets you pick one from a list.
rfswift container shellIn short
| I want to… | Command |
|---|---|
| Update RF Swift | rfswift update |
| Create a lab (guided) | rfswift container create |
| Create a lab from a toolbox | rfswift container create -i sdr_full -n my_sdr_container |
| Go back into a lab | rfswift container shell -c my_sdr_container |
| See my labs | rfswift container last |
| Add a tool the toolbox doesn’t include | rfswift container install -c my_sdr_container |
| Add a device or a folder later | rfswift config bindings add -c my_sdr_container ... |
| Replay a recorded session | rfswift log replay -i session.cast |
| Stop or delete a lab | rfswift container stop -c NAME / rfswift container rm -c NAME |
The commands you used before v4 (rfswift run, rfswift exec, rfswift images pull, rfswift nix install, …) still work and print a notice with the new spelling. The full mapping is in the command reference.
Before you start: your engine
An engine is what runs your labs. RF Swift drives four of them (Docker, Podman, Lima on macOS, and Nix) with the same commands and the same Workbench. Not sure which one you have or want? See Choose your engine.
Each engine needs a one-time setup on Linux:
Docker on Linux talks to a root-owned socket. Instead of sudo rfswift ..., grant your user access once:
rfswift host docker-access # docker group + a socket ACL, effective right away, no logoutDocker Desktop on macOS and Windows needs nothing.
Members of the docker group are root-equivalent on the host.
Podman runs rootless by default: no sudo, no daemon, no group. Two things to set up once:
- your subordinate UID/GID ranges must exist;
- RF Swift’s udev rules let your user open the RF hardware (rules inside a container are never evaluated).
sudo usermod --add-subuids 100000-165535 $USER
sudo usermod --add-subgids 100000-165535 $USER
rfswift host udev
The Nix engine runs the same tool sets natively, as your user, with no container. In lazy mode it installs nothing up front and fetches each tool the first time you run it. Select it:
- per command with
--engine nix; - per session with
RFSWIFT_ENGINE=nix; - permanently with
engine = nixinconfig.ini.
See the Nix engine guide.
RF Swift auto-detects the available container engine (Docker, Podman, Lima). To force one, use rfswift --engine podman .... The order of precedence is:
- the
--engineflag; - the
RFSWIFT_ENGINEenvironment variable; [general] enginein the config file.
A typical day
1. Keep RF Swift up to date
rfswift update- RF Swift checks for a new release when it starts. Skip that check with
-q. - On a deb, rpm, pacman or Homebrew install,
updatetells you to upgrade through your package manager instead of overwriting the packaged binary. rfswift --versionprints the version without touching the network.
2. Create a lab
rfswift container create -i sdr_full -n my_sdr_containerWhat you get:
- The image name is short: it resolves through the
repotagof yourconfig.ini(penthertz/rfswift_resoluteby default). - A workspace:
~/rfswift-workspace/my_sdr_container/on the host,/workspaceinside. - The USB tree, sound, display and the host audio server.
- A
zshshell inside the lab.
Leave out -i and -n and an interactive wizard walks you through profiles, image, workspace, mounts, devices, ports, network and features.
Profiles bundle image, network, features, devices and rules into a preset:
rfswift profile init                              # generate the built-in presets
rfswift profile list
rfswift container create --profile sdr-full -n my_sdr
Realtime mode for SDR captures (rtprio, memlock, SYS_NICE):
rfswift container create -i sdr_full -n my_sdr_container --realtimeSession recording in asciinema format:
rfswift container create -i sdr_full -n my_sdr_container --record
rfswift container create -i sdr_full -n my_sdr_container --record --record-output my-session.cast
During a recording the terminal title reads “REC | RF Swift” and RFSWIFT_RECORDING=1 is set inside the container.
3. Come back to a lab
rfswift container last            # containers RF Swift created, most recent first
rfswift container shell           # picker, or the most recent container
rfswift container shell -c my_sdr_container
rfswift container shell -c my_sdr_container -w /root/projects --record
rfswift container shell -c my_sdr_container -e "rtl_test -t" # one command, no shell- A stopped container is started before you enter it.
rfswift container stop -c NAMEstops it.rfswift container rm -c NAMEremoves it. The workspace stays on the host.
4. Add tools
Every image ships install functions for tools that are not preinstalled. Pick one from a searchable list, or name it:
rfswift container install -c my_container
rfswift container install -c my_container -i sdrpp_soft_install
If an install fails, you see the tail of the build output. Commit the container afterwards if you want to keep the result as an image (see step 7).
Only need a few tools?
A lazy Nix environment installs nothing up front and fetches each tool the first time you run it. See Add more software.
5. Plug in devices, sound and extra folders
Audio
- On Linux and macOS, the host PulseAudio/PipeWire TCP module is loaded automatically whenever a container starts.
rfswift host audio enabledoes it by hand (as your user, never root);host audio unloadremoves it.- Windows uses WSLg’s audio socket and needs nothing.
Devices and folders after creation (details in Change a container after creation):
rfswift config bindings add -c my_container -d -t /dev/ttyUSB0            # a device, hot-pluggable serial
rfswift config bindings add -c my_container -s ~/projects -t /root/projects
rfswift config bindings rm  -c my_container -t /root/projects
rfswift config capabilities add -c my_container -p NET_ADMIN
rfswift config cgroups add -c my_container -r "c 226:* rwm"
rfswift config ports bind -c my_container -b 127.0.0.1:8080:80/tcp
Realtime on an existing container
rfswift realtime enable  -c my_sdr_container
rfswift realtime status  -c my_sdr_container
rfswift realtime disable -c my_sdr_container
Inside the lab, run chrt -f 50 rtl_sdr -f 433920000 -s 2048000 out.bin; ulimit -r shows 95.
Device passthrough works natively:
- the USB tree is mapped by default with the USB cgroup rule;
- serial ports are hot-pluggable;
-u 1(privileged) is never needed for USB.
Rootless Podman cannot set cgroup device rules or create nodes, so RF Swift:
- drops the rules with a warning;
- leaves root-only nodes out;
- skips realtime limits above your host limits;
- requires serial ports to be present at creation.
Install rfswift host udev so your user may open the hardware on the host. Your groups (dialout, plugdev) are kept inside the container with the crun runtime.
6. Replay your recordings
rfswift log replay -i session.cast            # or pick from the current directory
rfswift log replay -i session.cast -s 2.0     # 2x
rfswift log list --dir ~/recordings
rfswift log start -o my-session.cast          # record outside a container; rfswift log stop ends it
Recordings are .cast files (asciinema). The Workbench terminals produce them too, and rfswift report generate inventories them.
7. Save, rename, upgrade and clean up
rfswift container commit -c my_container -i my_new_image          # save changes as an image
rfswift container rename -n old_name -d new_name
rfswift container upgrade -c my_container -r /root/captures        # newer image, keep a directory
rfswift container rm -c container_name
rfswift image rm -i penthertz/rfswift_resolute:tag_name
Using RF tools
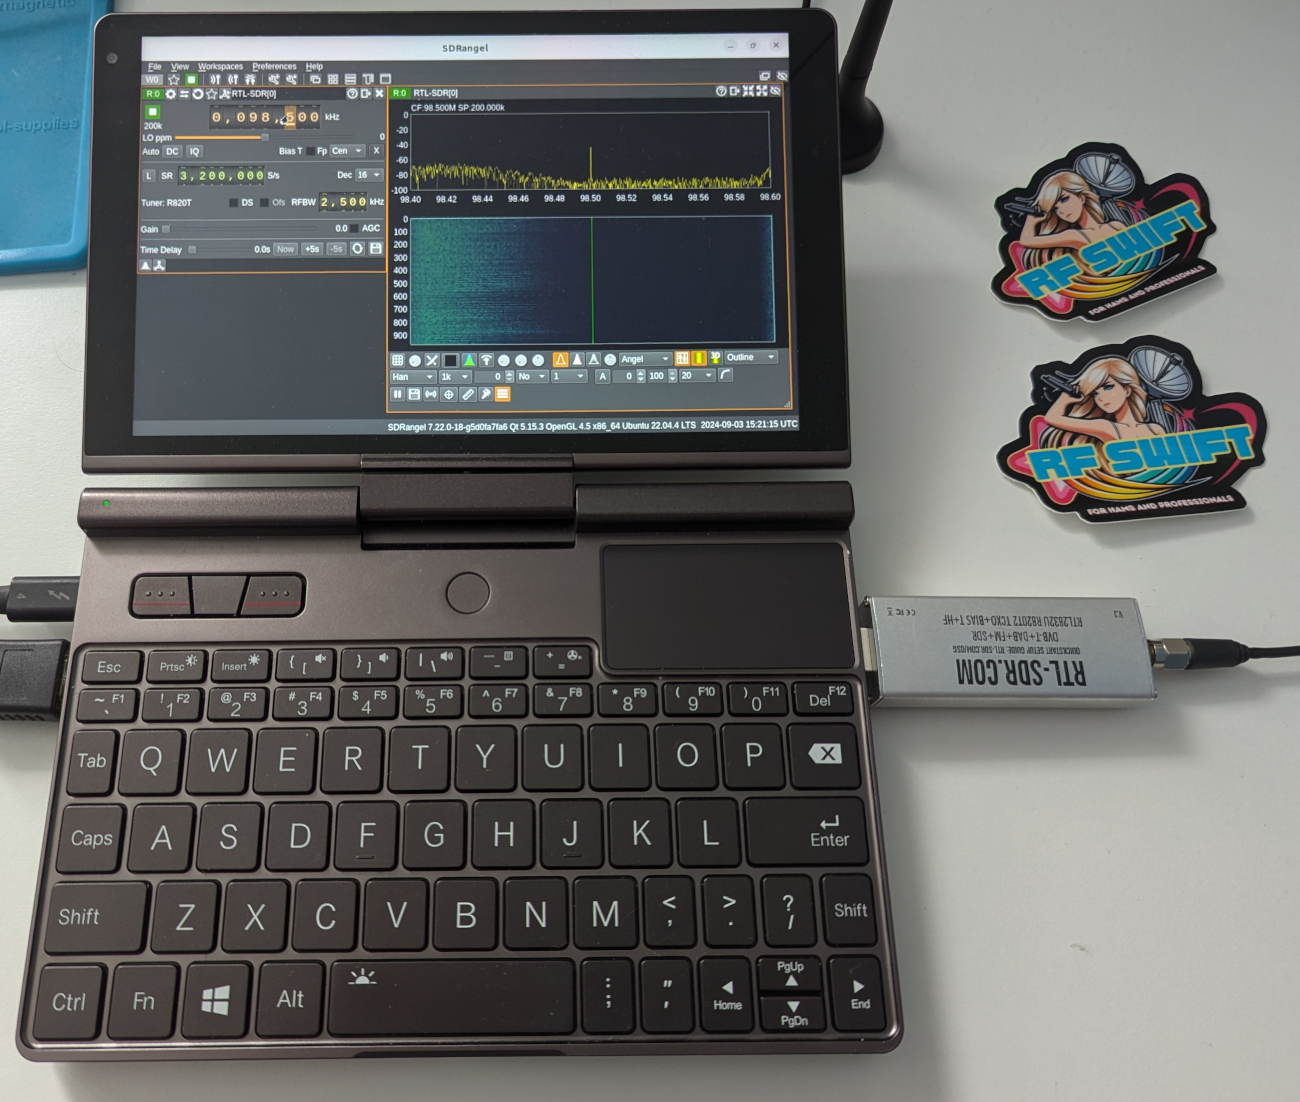
Once inside, run any included tool, for example sdrangel with an RTL-SDR plugged in:
Graphical tools need a display
- Linux: X11 with
xhost. - macOS: XQuartz (RF Swift switches OpenGL to EGL there).
- Windows: WSLg.
- Any platform:
--desktopfor a desktop in your browser (see below).
SDR performance
Buffer underruns or dropped samples usually go away with --realtime (or rfswift realtime enable -c NAME).
Network modes
| Mode | Description |
|---|---|
host |
No network isolation (default) |
nat |
RF Swift managed NAT network with automatic subnet allocation |
nat:NAME |
Join a named NAT network shared by several containers |
bridge |
The engine’s default bridge |
none |
No network |
container:NAME |
Share another container’s network |
rfswift container create -i bluetooth -n my_container -t bridge -w 127.0.0.1:8000:80/tcp
rfswift container create -i sdr_full -n sdr_work -t nat:lab_network
rfswift container create -i bluetooth -n bt_work -t nat:lab_network
rfswift network list
rfswift network create -n pentest_lab --subnet 172.30.10.0/24
rfswift network cleanup
Wi-Fi and Bluetooth tools need -a NET_ADMIN (and often NET_RAW). Add capabilities sparingly.
Remote desktop in a browser
rfswift container create -i sdr_full -n sdr_desktop --desktop                       # http://127.0.0.1:6080
rfswift container create -i sdr_full -n sdr_desktop --desktop --desktop-config "vnc::5900"
rfswift container create -i sdr_full -n sdr_desktop --desktop --desktop-config "http:0.0.0.0:6080" --desktop-pass "secret" --desktop-ssl
rfswift container shell -c my_container --desktop # on an existing container--desktop-configisproto:host:port:httpfor noVNC on 6080,vncon 5900.- Combine with
--no-x11when the browser is your only GUI. - In
natorbridgemode the in-container listener is forced to0.0.0.0so port forwarding reaches it, and the wizard asks for the bind address and port.
On the network, always set --desktop-pass and --desktop-ssl.
Native environments (Nix)
The same toolboxes, installed natively instead of in a container:
rfswift container create --engine nix -i sdr_light -n radio
rfswift container create --engine nix -i sdr_light -n radio --lazy   # stay light: each tool is fetched on first use
rfswift env shell radio
rfswift env update --check radio
The Nix engine guide covers build modes, the --isolate jail, hardware rules and Windows.
Host isolation and security
Containers start unprivileged, with the cgroup rules of config.ini:
[container]
privileged = false
caps =
seccomp =
cgroups = c 189:* rwm,c 166:* rwm,c 188:* rwm
privileged = false: no full root on the host.- The cgroup rules limit device access by major number (189 USB, 166 ACM serial, 188 USB serial). RF Swift adapts to cgroup v1 and v2.
capsandseccompadd capabilities or a custom seccomp profile for every container.
Override them per container with -u, -a, -g, -m, -s on rfswift container create, and audit what you granted with rfswift audit NAME.
Docker’s daemon runs as root. An unprivileged container is still confined by capabilities, seccomp and the device cgroup.
Rootless Podman adds a user namespace: root inside the container maps to your unprivileged user on the host. -u 1 grants privileges within that namespace only.
Command-line settings extend or override the config file. Keep privileged = false and add only the capabilities and devices a task needs.
Security-related flags of container create
All security, network, resource and performance flagsAdvanced
Security:
  -u, --privileged int        1 privileged, 0 unprivileged (default 0)
  -a, --capabilities string   extra capabilities, comma-separated
  -g, --cgroups string        extra cgroup rules, comma-separated
  -m, --seccomp string        seccomp profile ('default' by default)
  -s, --devices string        extra device mappings, comma-separated

Network:
  -t, --network string        host (default), nat, nat:NAME, bridge, none, container:NAME
  -z, --exposedports string   exposed ports
  -w, --bindedports string    published ports
  -x, --extrahosts string     extra hosts (default 'pluto.local:192.168.1.2')

Resources:
  -b, --bind string           extra bind mounts, comma-separated
  --workspace / --cwd / --no-workspace
  -d, --display string        X display (default DISPLAY=:0)
  -p, --pulseserver string    audio server (default tcp:127.0.0.1:34567)
  --gpus string               GPU request ('all' or IDs)

Performance:
  --realtime                  SYS_NICE + rtprio=95 + memlock=unlimited
  --ulimits string            e.g. 'rtprio=95,memlock=-1'

Recording and display:
  --record, --record-output string
  --no-x11
  --desktop, --desktop-config, --desktop-pass, --desktop-ssl
  --vpn string                wireguard:FILE, openvpn:FILE, tailscale[:KEY], netbird[:KEY]

Nix engine only:
  --lazy, --pure, --isolate, --flake REF, --rebuild, --create-only
Examples:
rfswift container create -i penthertz/rfswift_resolute:wifi -n wifi_tools -u 0 -a NET_ADMIN,NET_RAW
rfswift container create -i penthertz/rfswift_resolute:sdr_full -n rtlsdr -g "c 226:* rwm" -s "/dev/bus/usb:/dev/bus/usb"
rfswift container create -i penthertz/rfswift_resolute:reversing -n forensics -m ~/custom_seccomp.json -t none
rfswift container create -i penthertz/rfswift_resolute:sdr_full -n sdr_capture --realtime -b ~/captures:/root/captures --record
rfswift --engine podman container create -i penthertz/rfswift_resolute:sdr_full -n rootless_sdr --realtime
The complete list of options, with examples, is on the container create page.
All commands at a glance
The full rfswift --help overview
rfswift --help groups the commands by resource:
Containers:
  container    Create and manage RF Swift containers

Images and portability:
  image        Manage container images

Native Nix environments:
  env          Create and manage native Nix environments

Runtime configuration:
  bindings       Manage devices and volumes bindings
  capabilities   Manage container capabilities
  cgroups        Manage container cgroup rules
  config       Configure container devices, privileges, ports and resources
  gpus           Manage container GPU device requests
  ports          Manage container ports
  ulimits        Manage container ulimits

Networking:
  network      Manage container networks

Devices (USB / host):
  host         Host configuration (setup, udev rules, Docker access, audio)
  usb          Attach/detach USB devices to a container (macOS/Windows)

Security:
  audit        Audit a Nix environment, a container image, or a container for security
  report       Generate assessment reports

Remote access:
  agent        Serve RF Swift engines to authenticated remote clients

System & maintenance:
  cleanup      Clean up containers and images
  completion   Generate a shell completion script
  doctor       Check system environment and configuration
  engine       Container engine information and management
  log          Record and replay terminal sessions
  profile      Manage container profiles
  realtime     Manage realtime mode for SDR operations
  system       Maintain and diagnose the RF Swift host
  update       Update RF Swift

Flags:
  -q, --disconnect      Don't query updates (disconnected mode)
      --engine string   Engine to use: auto, docker, podman, lima, or nix (default "auto")
      --gpu             Use the GPU-accelerated Lima VM on macOS Apple Silicon (krunkit/Vulkan)
  -v, --version         version for rfswift