Files & devices
Where your files go, how to move them in and out of a lab, and how to connect SDRs, serial readers and Bluetooth or Wi-Fi adapters.
Every RF Swift lab shares a folder with your computer, and USB radios work in it without any setup. This page shows where your files go and how to connect other kinds of hardware. It takes about five minutes to read.
Your workspace folder
Each lab gets its own workspace: a folder on your computer that also appears inside the lab. Save a file in one place and it is immediately in the other. Nothing to configure.
| Where | Path |
|---|---|
| On your computer | ~/rfswift-workspace/<lab name>/ |
| Inside the lab | /workspace |
With three labs, your computer looks like this:
~/rfswift-workspace/
├── my_sdr/             -> /workspace inside the lab "my_sdr"
├── wifi_pentest/       -> /workspace inside the lab "wifi_pentest"
└── client_assessment/  -> /workspace inside the lab "client_assessment"
Try it
On your computer, create a lab. This also creates ~/rfswift-workspace/capture_session/:
rfswift container create -i sdr_light -n capture_sessionYou are now inside the lab. Save a note in the workspace:
cd /workspace
echo "Found signal at 433.92 MHz" > notes.txt
Open ~/rfswift-workspace/capture_session/notes.txt on your computer: the file is there.
Your files are safe
The workspace stays on your computer after the lab is stopped or deleted. Your captures, notes and scripts are never lost with the lab. When you create a lab, RF Swift prints the workspace path in its summary.
Plug in a device
USB radios (SDRs): nothing to do
On Linux, every lab can reach your USB devices by default. Plug in your RTL-SDR, HackRF or other SDR, even after the lab was created, and open a new shell in the lab: the device is there. With rootless Podman, run rfswift host udev once so your user may open the hardware.
On Windows and macOS
USB devices first have to be handed to the Linux system that runs your labs:
- Windows:
rfswift usb attach --busid <id>forwards a device into WSL 2, andcontainer createoffers a device picker when it sees RF hardware. See Windows. - macOS: Docker Desktop and Podman cannot forward USB devices, so use the Lima engine:
rfswift usb attach --vid <vendor> --pid <product>, thenrfswift --engine lima container create .... See usb.
In the Workbench, right-click a mission and choose USB passthrough… to do the same with buttons.
Serial devices (Proxmark3, Arduino, …)
Readers such as the Proxmark3 appear as a serial port (for example /dev/ttyACM0). Name it with -s when you create the lab:
rfswift container create -i rfid -n rfid_scanner -s /dev/ttyACM0:/dev/ttyACM0Separate several devices with commas:
rfswift container create -i rfid -n multi_proxmark -s /dev/ttyACM0:/dev/ttyACM0,/dev/ttyACM1:/dev/ttyACM1On Docker and rootful Podman, serial ports named at creation are hot-pluggable: if the reader is unplugged when you create the lab, it is attached on demand when you plug it in and open a shell.
Bluetooth and Wi-Fi adapters
Bluetooth and Wi-Fi tools configure network interfaces, so the lab needs the NET_ADMIN capability (-a NET_ADMIN) in addition to the device:
rfswift container create -i bluetooth -n bt_scanner -s /dev/vhci:/dev/vhci -a NET_ADMINCapabilities such as NET_ADMIN let a compromised lab capture or manipulate network interfaces. Add only what the job needs, and remove it afterwards with rfswift config capabilities rm.
Common devices at a glance
| Device | Host path | Lab path | Extra capability |
|---|---|---|---|
| RTL-SDR | /dev/bus/usb |
/dev/bus/usb |
None (mapped by default) |
| HackRF | /dev/bus/usb |
/dev/bus/usb |
None (mapped by default) |
| Proxmark3 | /dev/ttyACM0 |
/dev/ttyACM0 |
None |
| Bluetooth adapter | /dev/vhci |
/dev/vhci |
NET_ADMIN |
Most RF Swift images map the common device paths automatically; you only add the specific devices of your job.
Advanced
Choose another workspace folder
| Flag | Description |
|---|---|
| (default) | Creates ~/rfswift-workspace/<name>/ |
--workspace /path |
Use a custom host directory as the workspace |
--cwd |
Use the current working directory as the workspace |
--no-workspace |
No workspace at all |
rfswift container create -i sdr_full -n quick_test --cwd
rfswift container create -i sdr_full -n project_x --workspace ~/projects/project-x/rf-data
rfswift container create -i sdr_full -n headless --no-workspace
Workspace and reports
The report generator inventories every file of the workspace:
rfswift report generate -c capture_session --format htmlThe report then lists the workspace files, for example:
captures/433mhz.iq (capture, 12.5 MB)
notes.txt (log, 0.1 KB)
Share more folders
To share a folder other than the workspace, bind it with -b host_path:lab_path. It is added next to the workspace, which stays at /workspace:
rfswift container create -i telecom_utils -n telecom_analysis -b ~/shared_data:/root/sharedSeveral folders, separated by commas:
rfswift container create -i sdr_full -n sdr_project \
  -b ~/captures:/root/captures,~/scripts:/root/scripts,~/reports:/root/reports
Add :ro to share a folder read-only, for reference data that must not change:
rfswift container create -i sdr_full -n my_sdr_container -b ~/datasets:/root/data:roAlways write bindings as host_path:container_path, and separate several bindings with commas.
Changes are two-way and immediate: a file changed on either side is instantly visible on the other.
The container summary printed at creation lists every active binding:
 🧊 Container Summary
╭────────────────────────────────────────────────────────────────────────────╮
│ Container Name  │ telecom_analysis                                         │
├─────────────────┼──────────────────────────────────────────────────────────┤
│ X Display       │ :0                                                       │
├─────────────────┼──────────────────────────────────────────────────────────┤
│ Shell           │ /bin/zsh                                                 │
├─────────────────┼──────────────────────────────────────────────────────────┤
│ Privileged Mode │ true                                                     │
├─────────────────┼──────────────────────────────────────────────────────────┤
│ Network Mode    │ host                                                     │
├─────────────────┼──────────────────────────────────────────────────────────┤
│ Image Name      │ penthertz/rfswift_resolute:telecom_utils                 │
├─────────────────┼──────────────────────────────────────────────────────────┤
│ Size on Disk    │ 11150.42 MB                                              │
├─────────────────┼──────────────────────────────────────────────────────────┤
│ Bindings        │ /tmp/.X11-unix:/tmp/.X11-unix,/dev/bus/usb:/dev/bus/usb, │
│                 │                                                          │
│                 │ /home/user/shared_data:/root/shared                      │
├─────────────────┼──────────────────────────────────────────────────────────┤
│ Extra Hosts     │ pluto.local:192.168.2.1                                  │
╰────────────────────────────────────────────────────────────────────────────╯
Add folders or devices to an existing lab
Forgot a folder or a device? Add it later with rfswift config bindings instead of re-creating the lab. The -d switch means “a device, not a folder”; the lab restarts to apply the change.
rfswift config bindings add -c my_container -s ~/captures -t /root/captures   # a folder
rfswift config bindings add -c my_container -d -t /dev/ttyACM0                # a serial port, attached on demand
rfswift config bindings rm  -c my_container -t /root/captures                 # remove a folder
The legacy spelling rfswift bindings ... still works. Capabilities, ports, cgroup rules and more can be changed the same way: see Change a container later.
Nix environments and the workspace
Native Nix environments get the same workspace: ~/rfswift-workspace/<name>/ by default, and --workspace, --cwd and --no-workspace to change it.
- Natively, the directory is used in place at its host path.
- Under
--isolateon Linux it is mounted at/workspaceinside the jail (and the private home carries aworkspacelink); on macOS the jail keeps the real path. - Entering an environment prints
Workspace: <dir>, andRFSWIFT_WORKSPACEnames it inside the shell. rfswift env exportpacks the workspace together with the closure, andrfswift env remove --workspacedeletes it along with the environment.
Specialized hardware: Harogic spectrum analyzers
Harogic spectrum analyzers need their calibration files.
1. Copy the calibration files
Copy them from the USB key that comes with the device to your computer:

cp -R /media/username/37B6-82D6/CalFile ~/harogic_cal2. Bind the calibration directory
Bind it to the location SAStudio expects when you create the lab:
rfswift container create -i penthertz/rfswift_resolute:sdr_light -n harogic_analysis \
  -b ~/harogic_cal:/rftools/analysers/SAStudio4_x86_64_05_23_17_06/bin/CalFile
3. Run SAStudio
Inside the lab:
sastudio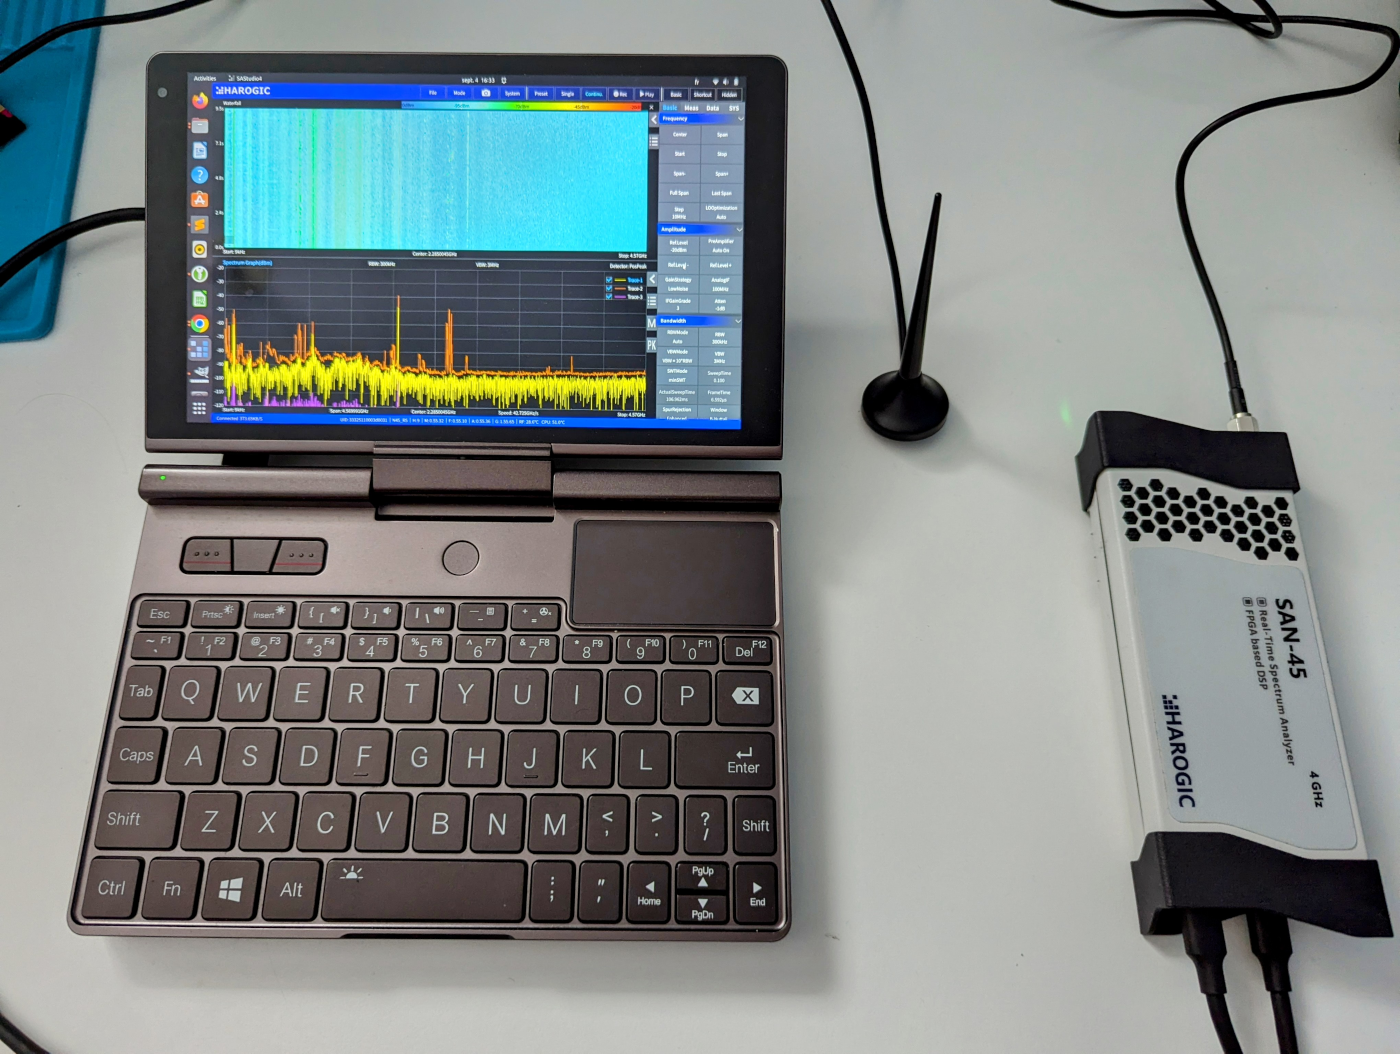
To use a Harogic device with SDR++, copy the calibration files to the location SDR++ expects, then start it (inside the lab):
cp -R /rftools/analysers/SAStudio4_x86_64_05_23_17_06/bin/CalFile /usr/bin
sdrpp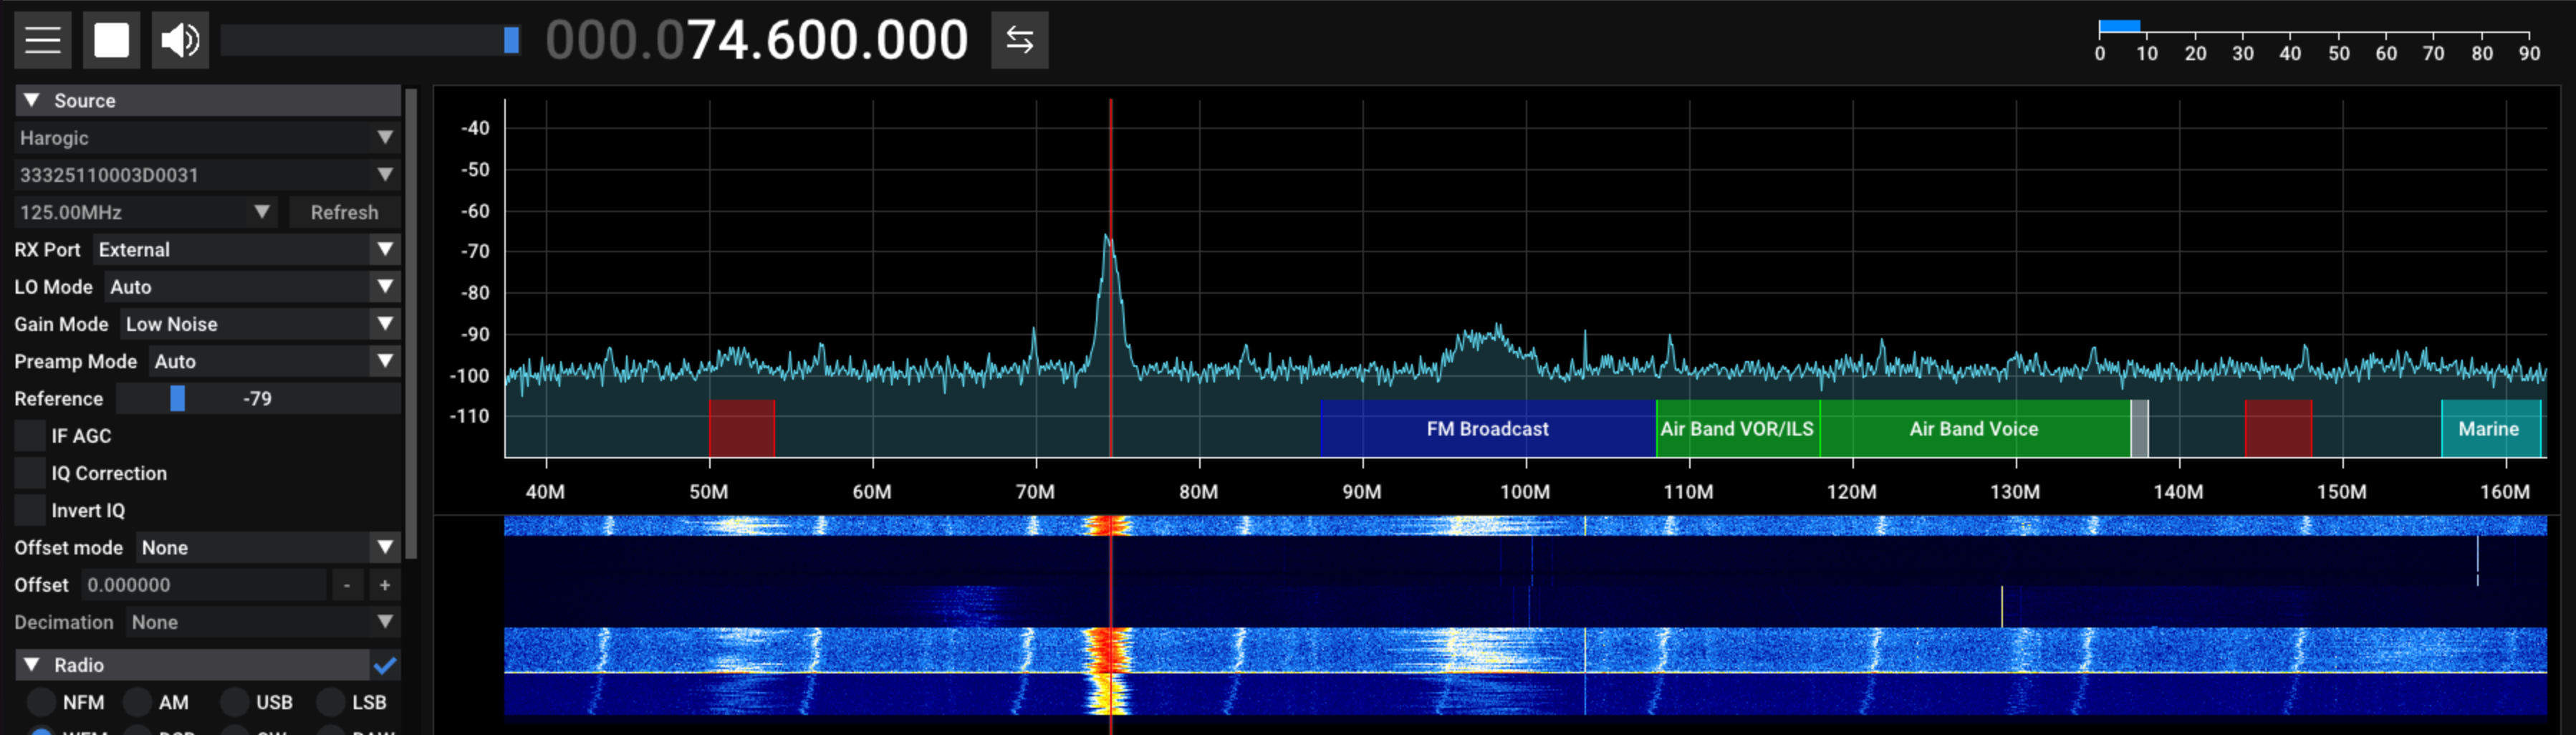
Best practices
- Use consistent directory structures: a standard layout for every assessment makes files easier to find.
- Organize by project: one shared directory per project or assessment.
- Keep user data separate: dedicated directories for data, software configuration and temporary files.
- Bind read-only when possible: mount reference data with
:ro. - Use descriptive lab names: the workspace folder is named after the lab.
Troubleshooting
Permission errors on a shared folder. On your computer, make sure you own the folder:
sudo chown -R your_username:your_username ~/shared_dataMaking the folder world-writable (chmod -R 777 ~/shared_data) also works, but is less secure.
Default bindings missing. Restore them while adding your own:
rfswift container create -i penthertz/rfswift_resolute:sdr_full -n sdr_analysis \
  -b /tmp/.X11-unix:/tmp/.X11-unix,/dev/bus/usb:/dev/bus/usb,~/my_data:/root/my_data
More fixes are collected in FAQ & troubleshooting.